- +86 13837949030 +86 15890619536
- info@lymcbearings.com export@lymcbearings.com
- Luoxin Industrial Cluster, Luoyang City,Henan Province,China
Time:2025-04-07 06:22:29 Source:Luoyang MC Bearing Technology Co.,Ltd.
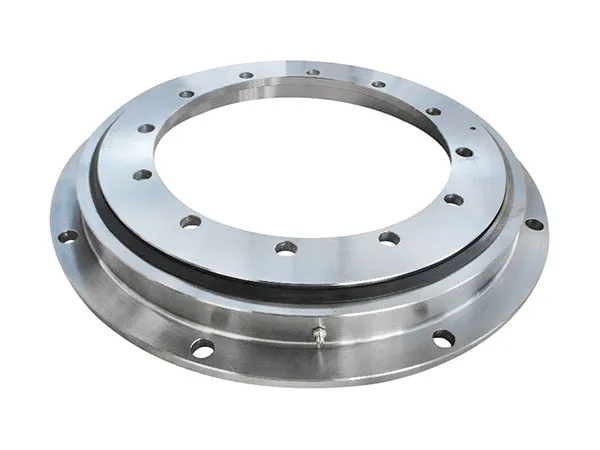
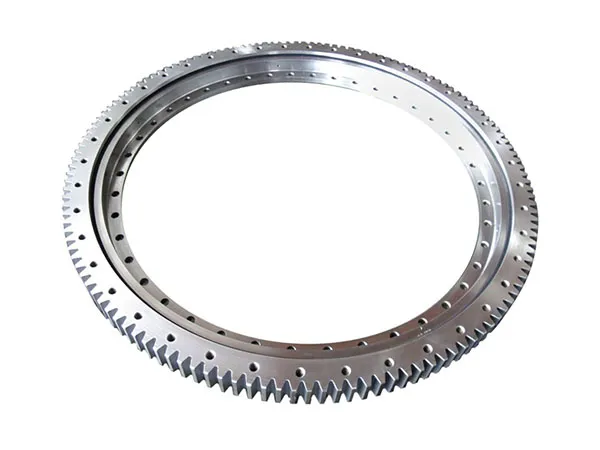
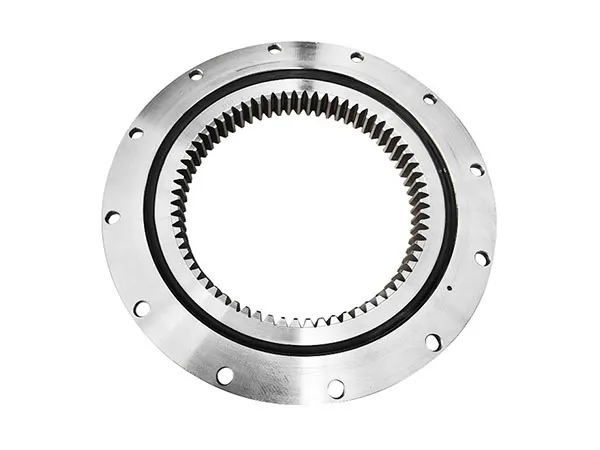
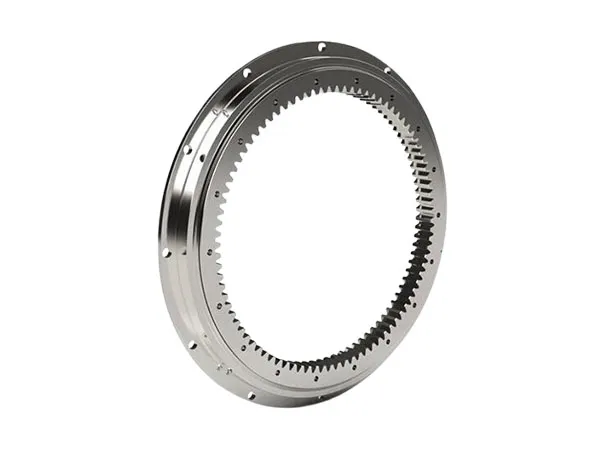
A flange slewing bearing has mounting holes directly drilled into the face of either the inner or outer ring (or both). This flange allows for direct bolting to the supporting structure without needing separate clamping rings, often simplifying the mounting arrangement.

Safety First!
PPE: Wear appropriate Personal Protective Equipment (safety glasses, gloves, steel-toed boots).
Lifting: Slewing bearings can be heavy. Use appropriate lifting equipment (cranes, hoists, slings) and techniques. Never lift by the seals or gear teeth if applicable.
Use designated lifting points if provided.
Lockout/Tagout: Ensure the machinery the bearing is being installed on is properly de-energized and locked out/tagged out before starting work.
Clear Area: Keep the work area clean and free of obstructions.
Tools and Materials Needed:
The new flange slewing bearing
Manufacturer's installation manual
Appropriate lifting gear
Correct grade, size, and length fasteners (bolts, potentially nuts and washers) - Crucially important! Use new fasteners of the grade specified by the bearing or equipment manufacturer (often Grade 10.9 or 12.9).
Calibrated torque wrench(es) covering the required torque range
Feeler gauges
Cleaning supplies (lint-free cloths, appropriate solvent)
Lubricant for bolt threads (if specified by manufacturer, e.g., molybdenum disulfide paste)
Grease gun and the correct type/grade of grease (as specified by the manufacturer)
Measuring tools (tape measure, calipers)
Soft mallet (optional, for minor adjustments)
Pry bars (use with extreme caution and protection to avoid damage)

Read the Manual: Thoroughly read and understand the specific installation manual provided by the bearing manufacturer. Pay close attention to torque values, bolt grades, tightening sequences, and lubrication requirements.
Inspect the Bearing:
Carefully unpack the bearing. Check for any shipping damage.
Verify the part number matches your requirements.
Check the manufacturing date (grease has a shelf life).
Gently rotate the bearing by hand (if possible) to ensure it moves smoothly without excessive noise or binding. Note the initial rotational resistance if required by the manufacturer.
Locate any markings indicating orientation, mounting zones, gear runout (if geared), or grease fittings.
Inspect Mounting Structures:
Cleanliness: Thoroughly clean the mounting surfaces on both the fixed and rotating structures where the bearing flanges will sit. Remove all dirt, debris, paint, rust, and old sealant.
Flatness & Rigidity: This is CRITICAL for slewing bearings. The mounting surfaces must be perfectly flat and rigid to prevent bearing distortion. Check flatness with a straight edge and feeler gauges according to the manufacturer's specifications (often tolerances are very tight, e.g., within 0.05mm or 0.002"). Any deviation can cause binding and premature failure. Machine the surfaces if necessary.
Dimensions: Verify the dimensions of the mounting structures (diameters, bolt circle diameters) match the bearing drawings.
Hole Alignment: Ensure the bolt holes in the structures align perfectly with the holes in the bearing flanges.
Prepare Fasteners:
Use new bolts of the correct size, length, and grade (e.g., ISO 898-1 Grade 10.9 or 12.9) as specified. Do not reuse old bolts.
Ensure bolts are long enough to achieve proper thread engagement but not so long they bottom out.
Clean the bolt threads.
If specified by the manufacturer, apply a small amount of lubricant (like MoS2 paste) to the bolt threads and under the bolt head to achieve accurate preload when torquing. Do not use grease unless explicitly specified, as it can significantly alter the torque-tension relationship.
Lifting & Positioning:
Attach lifting gear to designated points (often threaded holes in the flange face or specific lifting lugs).
Carefully lift the bearing and position it over the mounting structure.
Pay attention to any orientation marks (e.g., "Up" side, location of grease fittings, soft/hard zone markings relative to load).
Gently lower the bearing onto the prepared mounting surface. Align the bolt holes in the flange with the holes in the structure. Use alignment pins if helpful, but remove them before final tightening.
Install Bolts (Inner or Outer Ring First):
Typically, you mount one ring completely before mounting the other. Follow the manufacturer's recommendation. Let's assume mounting the outer ring first:
Insert all bolts for that ring flange into their respective holes. If using nuts and washers, install them as well.
Hand-tighten the bolts initially to secure the bearing in place. Do not apply significant torque yet.

Tightening Sequence:
Always tighten bolts in a diametrically opposite, star or cross pattern (like tightening lug nuts on a car wheel). This distributes the clamping force evenly and prevents distortion of the bearing ring. Number the bolts if it helps follow the sequence.
Multi-Pass Tightening: Never tighten bolts to full torque in one go. Use multiple passes:
Pass 1: Tighten all bolts in sequence to approx. 30% of the final target torque.
Pass 2: Tighten all bolts in sequence to approx. 70% of the final target torque.
Pass 3: Tighten all bolts in sequence to 100% of the final target torque specified by the manufacturer. Use a calibrated torque wrench.
Pass 4 (Verification): Go around the bolts one final time in sequence at 100% torque to ensure all have reached the target value and none have loosened.
Check Rotation: After the first ring is fully torqued, check if the other ring still rotates smoothly (if possible at this stage). Any binding indicates a potential problem (e.g., uneven mounting surface, incorrect tightening). Investigate and correct before proceeding.
Mount Second Ring: Repeat the bolt installation and multi-pass tightening procedure (Steps 2 & 3 above) for the second bearing ring flange.
Re-Torque Check (Often Recommended): Some manufacturers recommend re-checking the bolt torque after the equipment has run under load for a short period (e.g., a few hours or cycles) as components can settle. Consult the manual.
Final Rotation Check: Rotate the bearing through at least one full revolution. It should rotate smoothly without noise, tight spots, or binding. Measure the rotational torque if specified by the manufacturer and compare it to the acceptable range.
Greasing:
Locate the grease fittings.
Using a grease gun, pump the manufacturer-specified type and grade of grease into the bearing until fresh grease begins to purge from the seals. This ensures the bearing is full and purged of any contaminants or old storage grease. Rotate the bearing while greasing if possible to distribute it evenly. Wipe away excess purged grease.
If the bearing has separate raceway and gear lubrication points, grease both accordingly.
Seal Check: Ensure the seals are correctly seated, intact, and not damaged during installation.
Gear Mesh (If Applicable): If it's a geared bearing, check the backlash and contact pattern with the mating pinion according to the equipment manufacturer's specifications. Adjust pinion position if necessary.
Documentation: Record the installation date, bearing serial number, bolt torque values used, type of grease used, and any measurements taken (like rotational torque). This is vital for maintenance history.
Test Run: Operate the equipment slowly under no load, listening for unusual noises and observing for smooth operation. Gradually increase speed and load while continuing to monitor.

Common Mistakes to Avoid:
Uneven or Dirty Mounting Surfaces: The #1 cause of premature failure.
Incorrect Bolt Grade or Torque: Leads to insufficient clamping force or damaged bolts/threads.
Incorrect Tightening Sequence: Causes bearing ring distortion and binding.
Reusing Old Bolts: Bolts stretch and fatigue; always use new ones of the correct grade.
Damaging Seals During Handling or Installation: Allows contaminants in and grease out.
Hammering the Bearing: Can cause raceway damage (brinelling).
Using Incorrect Grease: Incompatible greases or wrong viscosity can lead to lubrication failure.
Ignoring the Manufacturer's Manual: Specific requirements may differ from general guidelines.
By following these steps carefully and referring to the manufacturer's specific instructions, you can ensure a proper and reliable installation of your flange slewing bearing. If you are unsure about any step, consult a qualified technician or the bearing manufacturer.