- +86 13837949030 +86 15890619536
- info@lymcbearings.com export@lymcbearings.com
- Luoxin Industrial Cluster, Luoyang City,Henan Province,China
Time:2025-03-14 06:14:43 Source:Luoyang MC Bearing Technology Co.,Ltd.
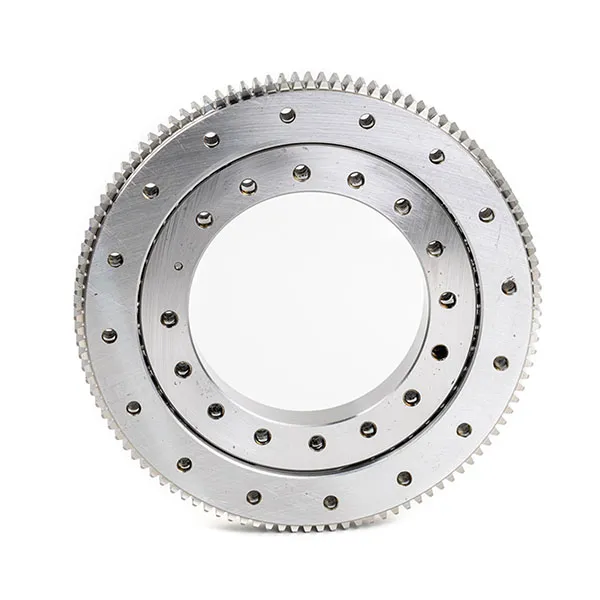
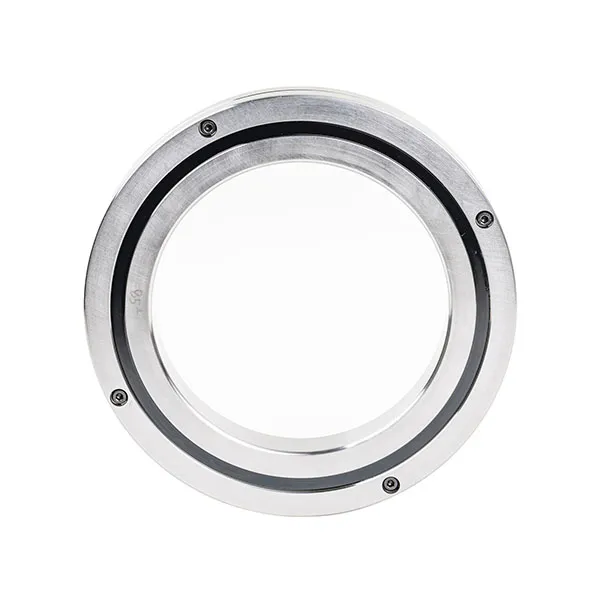
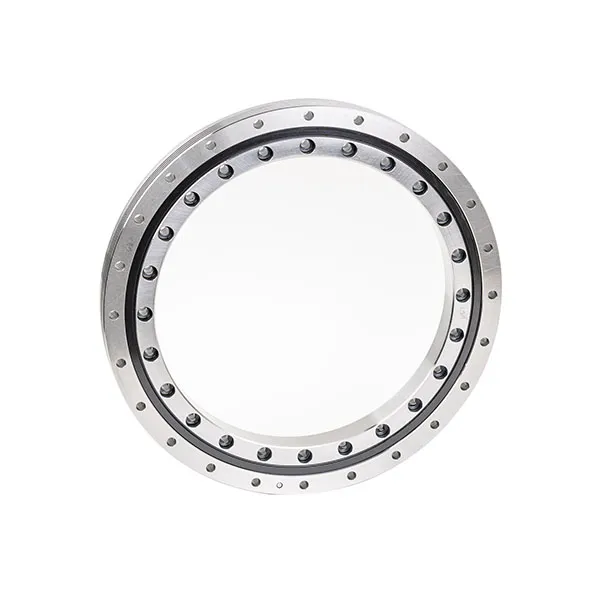
Crossed roller bearings are precision bearings used in applications requiring high stiffness, rotational accuracy, and load-bearing capacity. Proper installation is crucial to ensure smooth operation and longevity.Installing cross roller bearings correctly is crucial for their performance and longevity.

Cleanliness: This is paramount. Cross roller bearings are highly sensitive to contamination.
Work Area: Clean your workbench or work area thoroughly. Use a lint-free cloth and a suitable solvent to remove any grease, dirt, or debris.
Bearing: Inspect the bearing out of its packaging. Look for any signs of damage (dents, scratches, rust) on the rollers, races, and cage. Clean the bearing if necessary, but be very gentle. Avoid harsh solvents that might damage the lubricant. Many bearings come pre-lubricated and sealed; excessive cleaning could remove the essential lubrication. If cleaning is necessary, use a solvent compatible with the existing lubricant and re-lubricate with a high-quality grease that meets the bearing's specifications.
Housing and Shaft (or Mating Components): Thoroughly clean the housing bore (where the outer ring will sit) and the shaft (or mounting surface where the inner ring will sit). Remove any burrs, dings, or paint. Use a bore gauge and micrometer to verify that the dimensions are within the specified tolerances for the bearing's installation.
Inspection:
Bearing: Visually inspect the bearing for any damage incurred during shipping. Rotate the rings gently to feel for any roughness or binding.
Housing and Shaft/Mating Parts: Check for proper dimensions and roundness. Out-of-round or undersized/oversized components can cause preload issues, premature wear, and reduced bearing life. Refer to the bearing manufacturer's specifications for recommended fits and tolerances.
Confirm Bearing Type: Understand whether you are installing a split inner ring, split outer ring, or an integrated bearing. Each type requires a slightly different installation approach.
Tools:
Bearing Heater (Optional but Recommended for Larger Bearings): Heating the bearing to expand it slightly makes installation much easier and reduces the risk of damage. Use a controlled bearing heater, never an open flame.
Installation Tool/Press: A bearing press or a properly sized installation sleeve is crucial for applying even pressure during installation. Avoid hammering directly on the bearing rings.
Torque Wrench: Use a calibrated torque wrench to tighten the mounting bolts to the specified torque.
Dial Indicator/Gauge: For checking runout and alignment after installation.
Feeler Gauges: For checking preload.
Soft Hammer (Rubber or Plastic): For gentle tapping if needed.
Lint-Free Cloths: For cleaning.
Appropriate Solvent: For cleaning surfaces, if necessary.
Lubrication:
Review Specifications: Check the bearing manufacturer's specifications for the recommended type and amount of lubricant. Some bearings are pre-lubricated and sealed and do not require additional lubrication. Others require specific greases or oils.
Apply Lubricant: If lubrication is required, apply it sparingly and evenly to the bearing races and rollers. Be careful not to introduce contaminants during lubrication.

Heating (If Applicable): If using a bearing heater, heat the bearing to the recommended temperature. Follow the heater manufacturer's instructions. Avoid overheating the bearing, as this can damage the hardening and lubricant.
Orientation: Determine the correct orientation of the bearing. Some bearings have a specific "load direction" and must be installed accordingly.
Housing Ring Installation:
Align Carefully: Align the housing ring (usually the outer ring) with the housing bore.
Press or Use Installation Sleeve: Use a bearing press or a properly sized installation sleeve to press the bearing ring into the housing. Apply even pressure to the entire circumference of the ring to avoid cocking or damaging the bearing.
Gentle Tapping (If No Press): If a press is not available, use a soft hammer and a drift to gently tap the ring into the housing. Work your way around the circumference of the ring, tapping evenly to avoid cocking.
Verify Seating: Ensure that the ring is fully seated in the housing.
Shaft Ring Installation:
Align Carefully: Align the shaft ring (usually the inner ring) with the shaft.
Press or Use Installation Sleeve: Use a bearing press or a properly sized installation sleeve to press the bearing ring onto the shaft. Apply even pressure to the entire circumference of the ring. Heating the bearing ring (if possible) can make this process easier.
Gentle Tapping (If No Press): If a press is not available, use a soft hammer and a drift to gently tap the ring onto the shaft. Work your way around the circumference of the ring, tapping evenly to avoid cocking.
Verify Seating: Ensure that the ring is fully seated on the shaft.
Mounting Bolt Installation (If Applicable): Cross roller bearings often have mounting flanges with holes for bolts.
Install Bolts: Insert the mounting bolts.
Torque Sequence: Tighten the bolts in a crosswise pattern, gradually increasing the torque in stages. This helps to ensure even pressure distribution and prevents distortion of the bearing rings. Refer to the bearing manufacturer's specifications for the correct torque sequence and torque values.
Final Torque: Tighten all bolts to the specified final torque.
Runout: Use a dial indicator to check the runout of the bearing rings. Excessive runout indicates misalignment or distortion.
Rotation: Rotate the bearing rings by hand to check for smooth, consistent rotation. Any roughness or binding indicates a problem.
Preload Adjustment (If Adjustable): Some cross roller bearings have adjustable preload. Follow the manufacturer's instructions to adjust the preload to the correct value. This may involve using shims, adjusting mounting screws, or using a torque wrench to achieve the desired preload. Use feeler gauges to measure the gap (if applicable) and ensure proper preload.
Lubrication (If Necessary): If the bearing requires additional lubrication after installation, apply the specified lubricant according to the manufacturer's instructions.

Manufacturer's Instructions: Always refer to the bearing manufacturer's specific instructions for installation. These instructions will provide detailed information about the bearing's dimensions, tolerances, preload requirements, and lubrication recommendations.
Tolerances: Pay close attention to the tolerances of the housing bore and shaft diameter. Incorrect tolerances can lead to preload problems, premature wear, and reduced bearing life.
Preload: Proper preload is critical for the performance of cross roller bearings. Too little preload can lead to excessive play and vibration, while too much preload can cause overheating and premature failure.
Contamination: Keep the bearing clean during installation. Even small amounts of contamination can damage the bearing.
Expert Assistance: If you are unsure about any aspect of the installation process, consult with a qualified bearing specialist.
Dirty Environment: Working in a dirty environment can contaminate the bearing.
Using Incorrect Tools: Using the wrong tools can damage the bearing.
Hammering Directly on the Bearing: Hammering directly on the bearing can damage the races and rollers.
Overheating the Bearing: Overheating the bearing can damage the hardening and lubricant.
Overtightening Mounting Bolts: Overtightening the mounting bolts can distort the bearing rings.
Ignoring Manufacturer's Instructions: Ignoring the manufacturer's instructions can lead to incorrect installation and premature failure.
Improper Preload Adjustment: Incorrect preload adjustment can result in reduced bearing life and performance.
Forcing Installation: Never force the bearing into place. If it doesn't go in easily, stop and re-evaluate the situation. Forcing can damage the bearing or the housing.
By following these steps and paying close attention to detail, you can ensure that your cross roller bearings are installed correctly and will provide long and reliable service. Remember to always prioritize cleanliness, use the correct tools, and follow the manufacturer's instructions.